DIY Console Table: A Step-by-Step Guide to Building Your Own
Hey there, ladies! Are you ready to add a personal touch to your home? Imagine crafting a DIY Console Table that’s not only stylish but also perfectly suited to your space. Whether you’re looking to spruce up your hallway, enhance your living room, or add a chic touch to your entryway, a DIY Console Table is a fantastic project to take on.
Picture this: you step into your home, and right there is a beautiful console table that you built with your own hands. It’s not just a piece of furniture; it’s a statement of your creativity and effort. In this guide, I’ll walk you through every step of creating your own DIY Console Table. From gathering your materials to adding those final touches, we’ll cover it all.

We’ll kick things off by selecting the right materials and tools for your DIY Console Table project. I’ll guide you through measuring and cutting your wood so it fits just right. Next, we’ll dive into designing your table, picking dimensions and styles that match your decor.
Once we’re ready to build, I’ll show you how to assemble the base, attach the tabletop, and ensure everything is stable and well-balanced. We’ll also go over sanding and painting techniques to give your DIY Console Table a sleek, polished finish. And, of course, I’ll help you with those final personal touches to make your table uniquely yours.
By the end of this guide, you’ll have a stunning DIY Console Table that you can proudly display in your home. More than that, you’ll have the satisfaction of knowing you created it yourself. So, let’s get started on this exciting project together. Your dream DIY Console Table is just a few steps away!
Gathering Materials and Tools
Essential Materials for the Console Table

Ladies, let’s dive into the heart of your DIY Console Table journey with the essential materials you’ll need. First up, poplar wood—it’s your best friend for this project. Why? Because poplar is not just easy to work with, but it also provides a smooth, modern finish that’s perfect for any sleek design. Next, grab some wood glue; this will be your secret weapon for creating those strong, durable joints. To hold everything together, you’ll need finish nails—they’re perfect for securing your wood pieces without leaving a trace. And, of course, choose your paint or stain based on your preferred finish. Whether you’re going for a chic matte or a glossy look, it’s all about that personal touch!
Necessary Tools for the Project
Now, let’s talk tools—these are the magic wands that will turn your DIY Console Table dream into reality. Start with a miter saw for those precise cuts. This tool will ensure that every piece fits perfectly. Next, you’ll need a finish nailer for quick and secure assembly. It’s a time-saver and a game-changer! A random orbit sander is also essential for achieving that ultra-smooth surface. Lastly, don’t forget your brushes—they’ll be your best friend when it comes to painting or staining.
Optional Materials for Customization
Want to add a bit of flair? Here’s where you can get creative. Consider decorative hardware for a unique touch. Whether it’s chic handles or stylish legs, these small details can make a big impact. And if you want to showcase your table in style, picture lights can highlight the table’s design, making it the star of your home decor.
Designing Your Console Table
Choosing the Right Dimensions
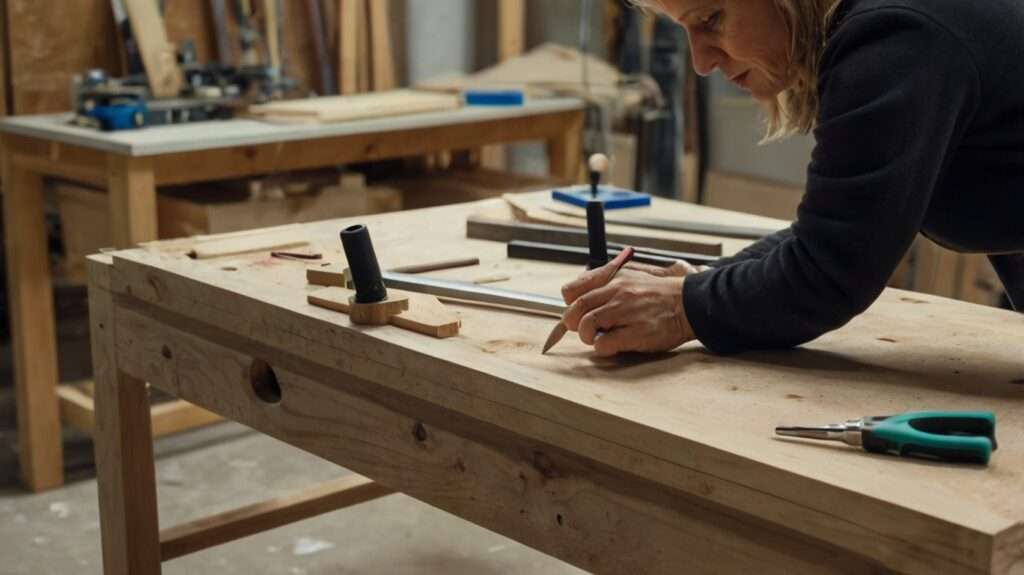
When crafting your DIY Console Table, size matters! Decide on the dimensions that best fit your space. A standard size is approximately 35″ tall, 48″ wide, and 10″ deep, but feel free to adjust according to your specific needs and room constraints. Imagine how this table will look in your hallway, living room, or entryway—dimensions should enhance the space, not overwhelm it.
Selecting the Perfect Design Style
The design style of your DIY Console Table can make or break the look. Modern design calls for clean lines and minimalistic elegance. Think sleek and simple—nothing too fussy. Consider whether you want additional features like shelves or drawers. This is your chance to let your creativity shine while staying true to that modern aesthetic.
Creating a Blueprint or Sketch
Before you dive into building, sketch out a blueprint. Visualize your DIY Console Table by drawing detailed measurements and design elements. This sketch will serve as your roadmap, guiding you through the building process. It’s like having a treasure map for your furniture project—every detail matters!
Building the Console Table Base
Cutting and Preparing the Wood Pieces
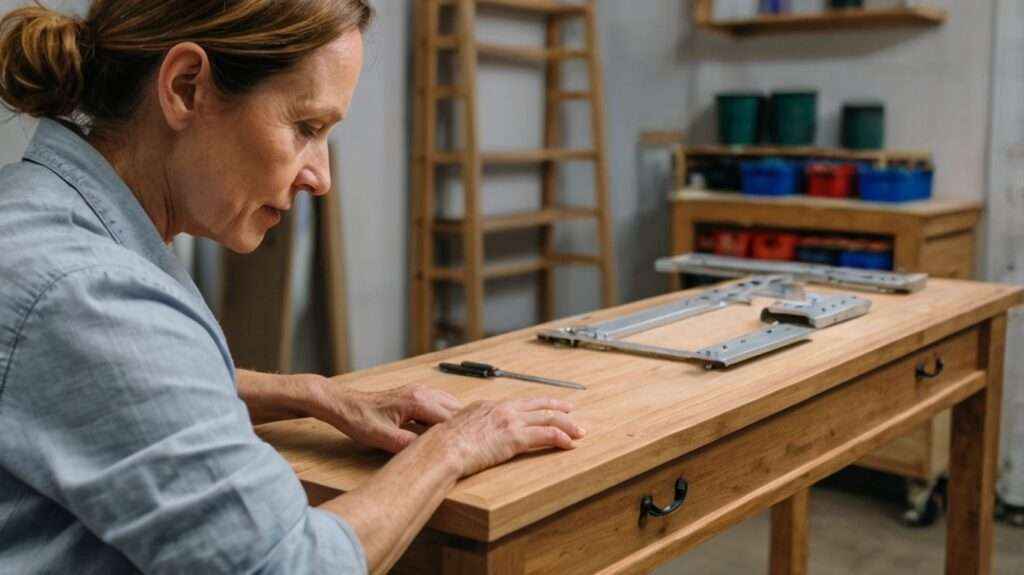
Let’s get hands-on! Start by cutting your poplar wood to the necessary dimensions for the top, sides, and shelf of your DIY Console Table. Precision is key here—each piece should be accurately measured to ensure a perfect fit. This step sets the foundation for a sturdy and well-crafted table.
Assembling the Table Frame
With your wood pieces cut, it’s time to assemble the frame. Use wood glue and finish nails to piece everything together. Begin by attaching the top board to the side panels, creating a stable base for your table. This is where your table starts to take shape!
Ensuring Stability and Balance
A sturdy table is a happy table. Check that the frame is level and balanced. Adjust as needed to prevent any wobbling or unevenness. This step is crucial—your DIY Console Table should be both stylish and stable, ensuring it stands the test of time.
Related:
Painted Pallets: Stunning DIY Ideas for Every Room in Your Home
Creating the Tabletop
Measuring and Cutting the Tabletop Material
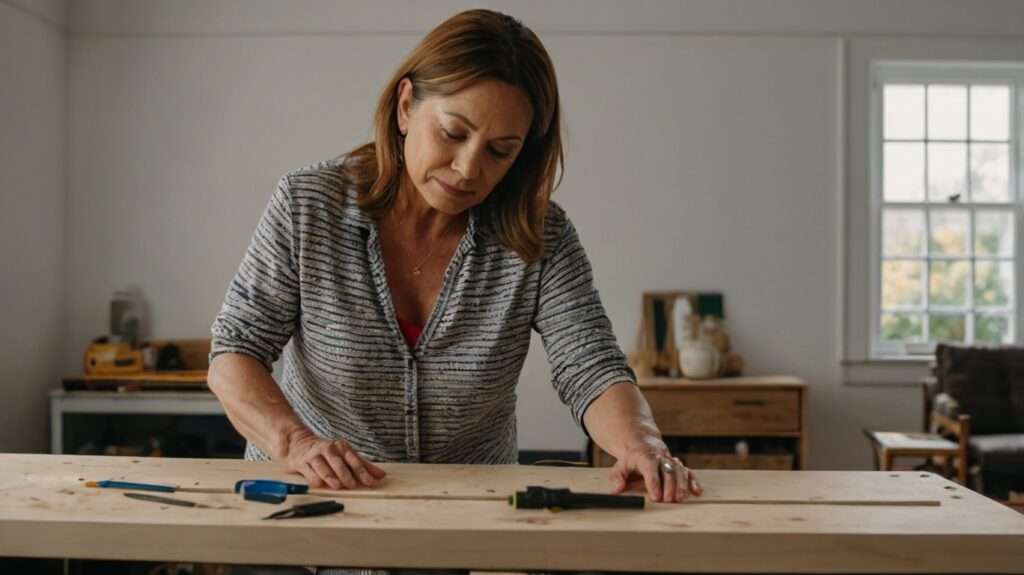
Cutting the material for the tabletop is an art in itself. Measure carefully to ensure that the tabletop fits perfectly with the frame. Precision here is crucial—an ill-fitting tabletop can ruin an otherwise perfect table.
Attaching the Tabletop to the Frame
Once your tabletop material is cut, it’s time to attach it to the frame. Use wood glue and finish nails to secure it firmly. Make sure it aligns evenly with the edges of the frame for a seamless, polished look.
Finishing Touches for a Smooth Surface
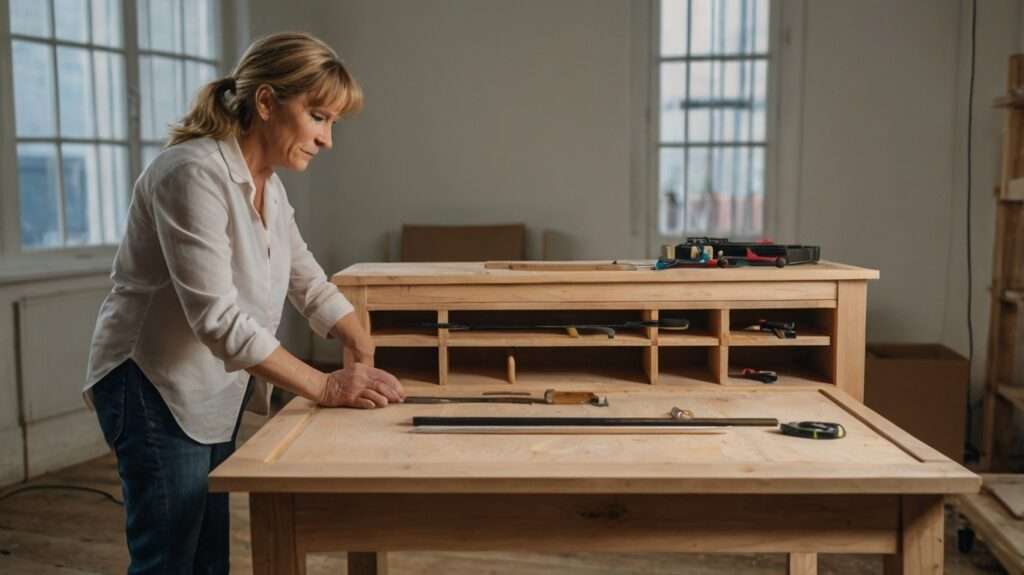
To achieve that professional finish, sand the tabletop thoroughly. This step removes any rough spots, leaving you with a smooth, sleek surface that enhances the modern design of your DIY Console Table.
Sanding and Painting

Techniques for Sanding Wood
Sanding is where your DIY Console Table begins to shine. Use a random orbit sander to smooth out the wood surface. Start with coarse grit sandpaper and gradually move to finer grits. This process ensures a flawless finish that’s both smooth and elegant.
Choosing the Right Paint or Stain
The paint or stain you choose will define the final look of your table. Opt for a finish that complements your decor. For a modern touch, consider a sleek matte or glossy finish. Apply evenly for a consistent color that brings out the best in your DIY Console Table.
Applying a Protective Finish
To protect your masterpiece and enhance its durability, apply a clear polyurethane finish. This final step shields your table from scratches and wear, while maintaining its stylish appearance.
Final Touches and Assembly
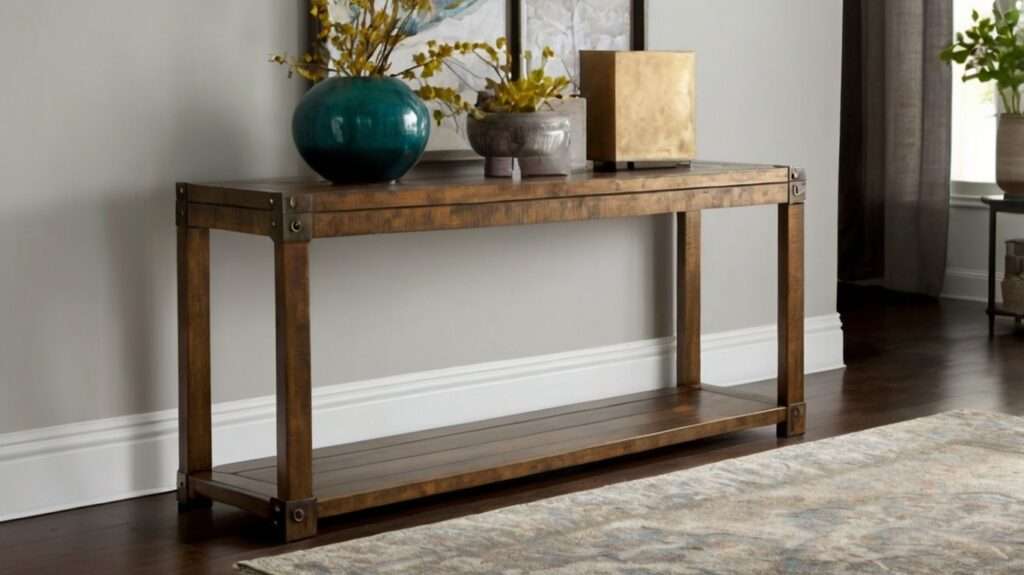
Adding Decorative Elements
Now it’s time for the fun part—personalizing your DIY Console Table! Add decorative elements like a chic lamp, stylish photo frames, or any accessories that enhance its modern aesthetic. These touches make your table not just a piece of furniture, but a statement.
Securing Hardware Components
If your design includes hardware, ensure that it’s securely attached. This includes any handles, hinges, or decorative features. These details are what make your table truly unique.
Conducting a Final Inspection
Before you proudly display your DIY Console Table, perform a thorough final inspection. Check for any loose parts, uneven surfaces, or imperfections. Make any necessary adjustments to ensure your table is in perfect condition and ready to impress.
By following these stylish and detailed steps, you’ll create a stunning DIY Console Table that perfectly complements your home decor. Enjoy the satisfaction of having built something uniquely yours, and let your new table shine in its new home!
Conclusion
Creating your own DIY console table is not just about building a piece of furniture; it’s about adding a personal touch to your home, making something truly your own. By carefully selecting materials, designing with intention, and putting in the effort to build it yourself, you’ll end up with a beautiful, modern console table that reflects your style and fits perfectly into your space. Whether it’s the satisfaction of crafting something with your hands or the joy of seeing your creation come to life in your home, this project is both rewarding and enriching.
As you place your new console table in its spot, adorned with your favorite decor pieces, you’ll not only admire its aesthetic appeal but also feel the pride of knowing you made it yourself. So, gather your tools, unleash your creativity, and enjoy the process of building your perfect console table. Happy crafting!
FAQs
1. What type of wood is best for a DIY console table? Poplar wood is an excellent choice for a DIY console table due to its smooth texture and ease of use. It’s also readily available and affordable, making it perfect for beginners and seasoned DIYers alike.
2. How long does it take to build a console table? The time required can vary depending on your experience and the complexity of the design. On average, building a console table can take a weekend from start to finish, including the time for sanding, painting, and drying.
3. Do I need to use power tools for this project? While power tools like a miter saw and finish nailer can speed up the process, they are not strictly necessary. You can use hand tools like a handsaw and hammer, though it may take more time and effort.
4. Can I customize the design of my console table? Absolutely! The beauty of a DIY project is the ability to tailor the design to your specific tastes and needs. Consider adding shelves, drawers, or decorative elements to make your console table unique.
5. How do I ensure my console table is stable and balanced? Ensuring stability involves carefully measuring and assembling your materials. Use a level to check your work as you go and make adjustments as needed to avoid any wobbling or unevenness.
References
- Choosing the Right Wood for DIY Projects – For more information on selecting wood, visit The Wood Database.
- Tools for DIY Furniture – Explore essential tools for woodworking at Rockler Woodworking and Hardware.
- Painting and Finishing Techniques – Learn about different paint and stain options at Sherwin-Williams.
- DIY Console Table Designs – Find design inspiration at Ana White.
- Home Decorating Ideas – For more tips on decorating your home, check out HGTV.

