EASY DIY Raised Garden Bed: A Beginner-Friendly Guide
Introduction
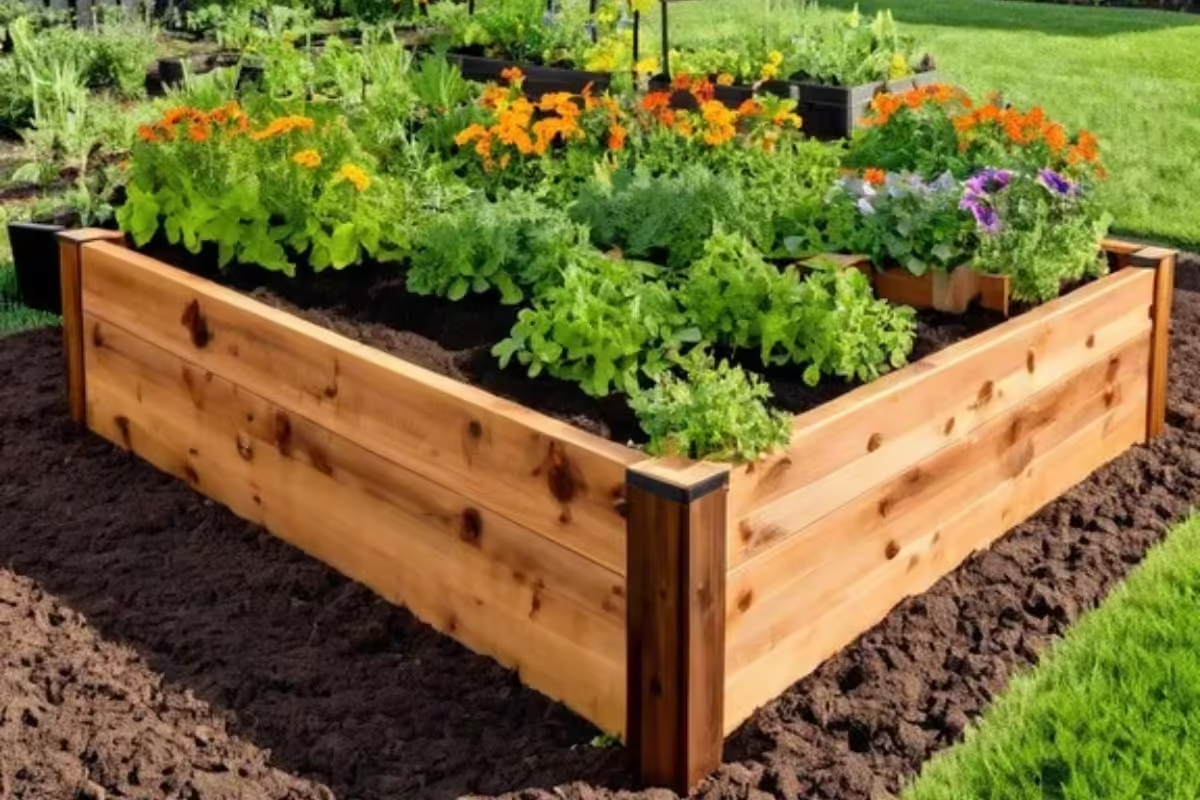
Recently, I decided to build raised garden beds for my mom, and I’m excited to share the process with you! Raised garden beds are a fantastic option for both new and experienced gardeners. They offer better soil conditions, improve drainage, and are easier to access compared to traditional in-ground gardens. If you’ve been thinking about growing your own plants or vegetables, raised beds are much easier to create and maintain.
Here’s how I did it and how you can, too!
1. Benefits of Raised Garden Beds vs. In-Ground Gardens
One of the biggest advantages of raised garden beds is their simplicity. You don’t need to dig deep into the ground or worry about removing large patches of grass. With raised beds, you can control the quality of the soil, and the elevated structure means less bending, making it a much more comfortable gardening experience.
Building a raised bed is all about constructing a sturdy structure and filling it with nutrient-rich dirt – and it’s surprisingly easier than you might think.
2. Choosing the Right Materials for Your DIY Raised Garden Beds
When it comes to materials, you have options! I considered two popular choices: Cedar and Composite Decking.
- Cedar is a traditional choice for raised beds. It’s weatherproof, relatively affordable, and can be customized to any size you want. However, cedar beds tend to rot within 5-7 years, which might mean replacing them sooner than you’d like.
- Composite Decking, on the other hand, is an excellent low-maintenance alternative. It’s stronger and can last up to 20-30 years! While composite decking is more expensive, its durability makes it perfect, especially for ornamental plants or long-term gardening projects.
3. Tools and Materials (Makes 2 Garden Beds)
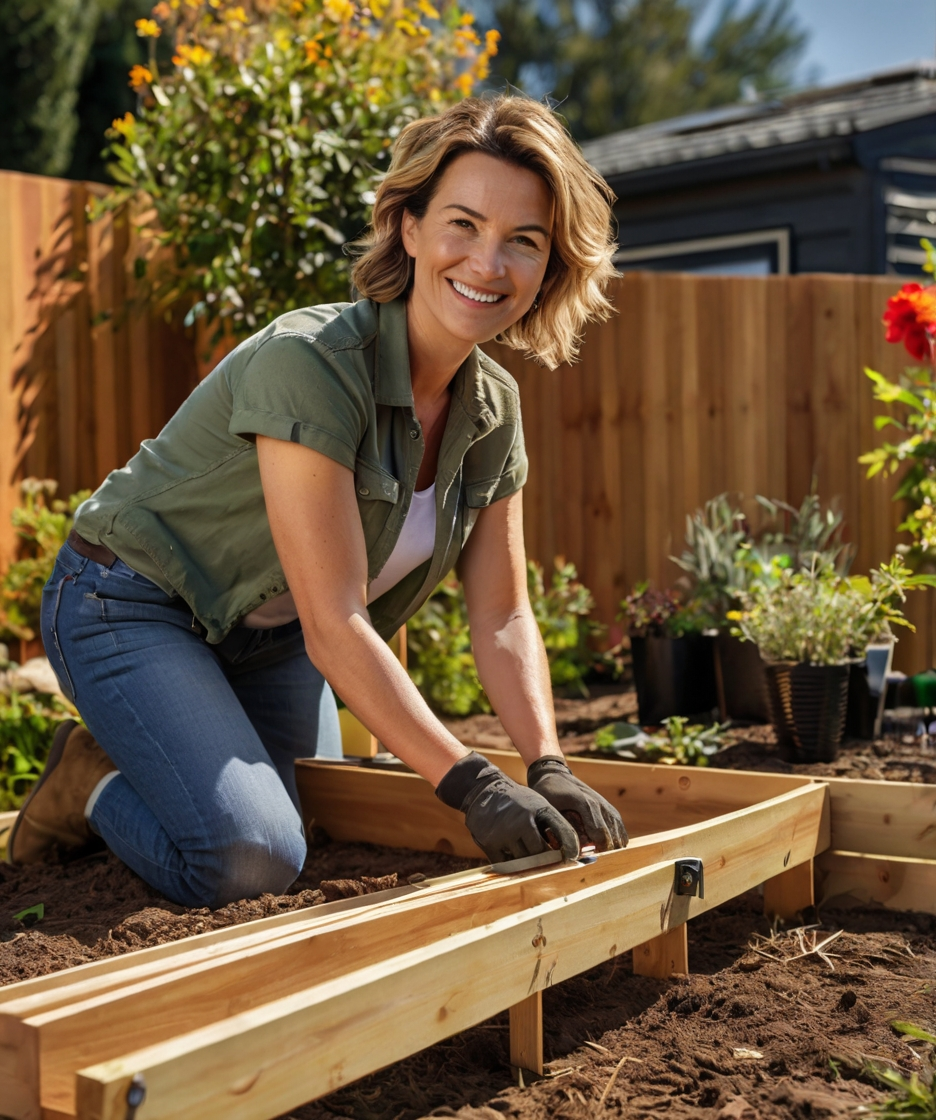
Here’s everything I used to build two garden beds:
Materials:
- Composite decking boards (you can use cedar if you prefer).
- Deck screws.
- Pressure-treated 2×4 wood for internal supports.
- Landscape fabric.
- Cardboard (to block weeds).
- Fertilizer and manure for soil.
- Wildflower seeds (or your preferred plants).
Tools:
- Drill.
- Impact driver.
- Saw (for cutting boards).
- Garden trowel.
4. Buying Composite Wood
Finding the right length of composite decking was a bit of a challenge, especially with transportation! Composite decking boards come in different colors, so you can pick the shade that best suits your garden aesthetic. Just make sure the boards are the right length for the bed size you plan to build.
5. Cutting the Pieces for the Garden Bed
Once I had the materials, I measured and cut the composite decking boards to size. I even added bevel cuts to the edges for smoother, more professional-looking corners. This step takes a little extra time but makes a big difference in the final appearance.
6. Adding Internal Supports for Stability
To make sure the garden bed was sturdy, I used pressure-treated 2×4 wood for internal supports. I cut four pieces to serve as brackets and attached them inside the structure to hold everything together. The extra support helps ensure the bed lasts through many seasons.
7. Planning the Perfect Garden Location
When setting up a raised garden bed, the location is key. I picked a flat, sunny spot in the yard to give the plants plenty of sunlight and to allow for proper drainage. If you’re starting your garden, try to choose a location that gets at least 6-8 hours of sunlight each day.
8. Assembling the Raised Garden Bed
With the pieces cut and supports ready, I started assembling the bed. I attached the composite decking boards to the internal supports, making sure the corners were tight and squared. This step is crucial to ensure the bed looks clean and professional once completed.
9. Lining the Garden Bed
Before adding the soil, I lined the bottom of the garden bed with landscape fabric and cardboard. This helps prevent weeds from growing up into the garden bed, saving you time and effort down the line.
10. Adding Soil and Planting Seeds
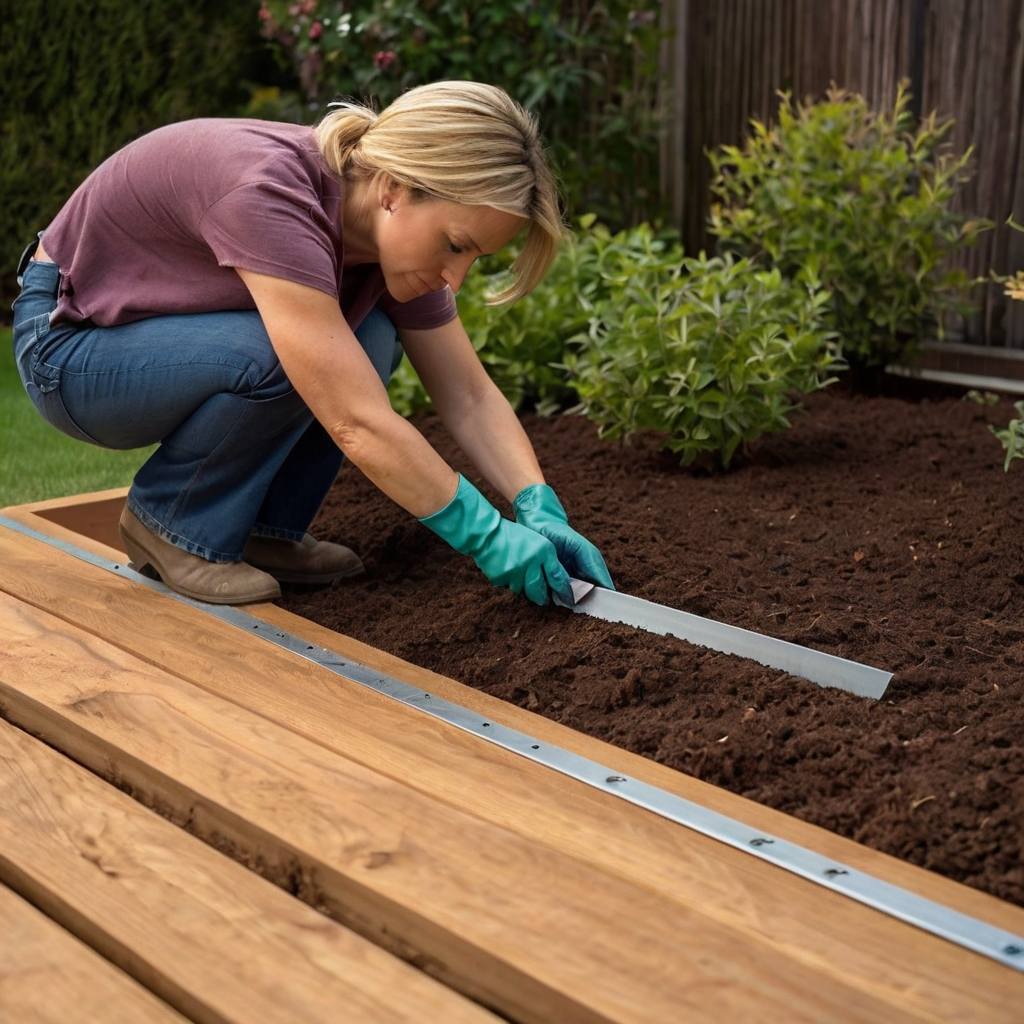
For the soil, I mixed fertilizer and manure to ensure the plants would have all the nutrients they needed. I made sure to fill the bed to a good depth before planting my wildflower seeds. After planting, I gave them a gentle watering to kickstart their growth.
11. The Final Look and Conclusion

The completed raised garden bed turned out better than I expected! It looks both professional and durable, and I can’t wait to see the flowers bloom. This project was a fun, beginner-friendly experience, and I highly recommend trying it if you’re looking to spruce up your garden.
Building your own raised garden bed is a rewarding way to grow plants, flowers, or vegetables. With just a few materials and a little effort, you’ll have a beautiful garden bed in no time. Why not give it a try?

