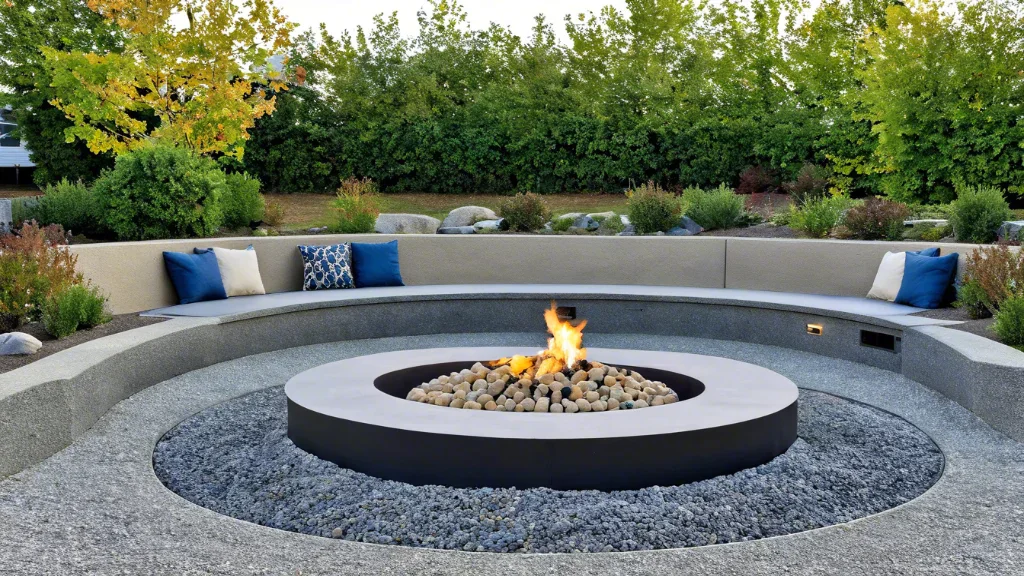
How to Create a Sunken Fire Pit: A Step-by-Step DIY Guide
Transforming an unused space into a stunning sunken fire pit area can elevate your backyard and provide a cozy spot for gatherings. This detailed guide will walk you through the entire process of creating a sunken fire pit, from initial planning to the final touches. Whether you’re a DIY enthusiast or a beginner, this article will help you achieve a beautiful and functional fire pit.
Why Choose a Sunken Fire Pit?

A sunken fire pit is a fantastic addition to any patio or backyard. It not only enhances the aesthetic appeal but also creates a unique focal point for your outdoor space. By choosing a sunken design, you can integrate seating around the fire pit, making it a perfect spot for evening relaxation and entertaining guests.
Materials and Tools You’ll Need
Before starting your sunken fire pit project, gather the following materials and tools:
- Cinder blocks
- Leveling sand
- Cement mix
- Mini cement mixer
- Rebar
- Chat (crushed rocks)
- Outdoor fire pit or fire table
- Stucco
- Outdoor cushions and pillows
- Measuring tape
- Shovel
- Wheelbarrow
- Trowel
Step-by-Step Guide to Building a Sunken Fire Pit
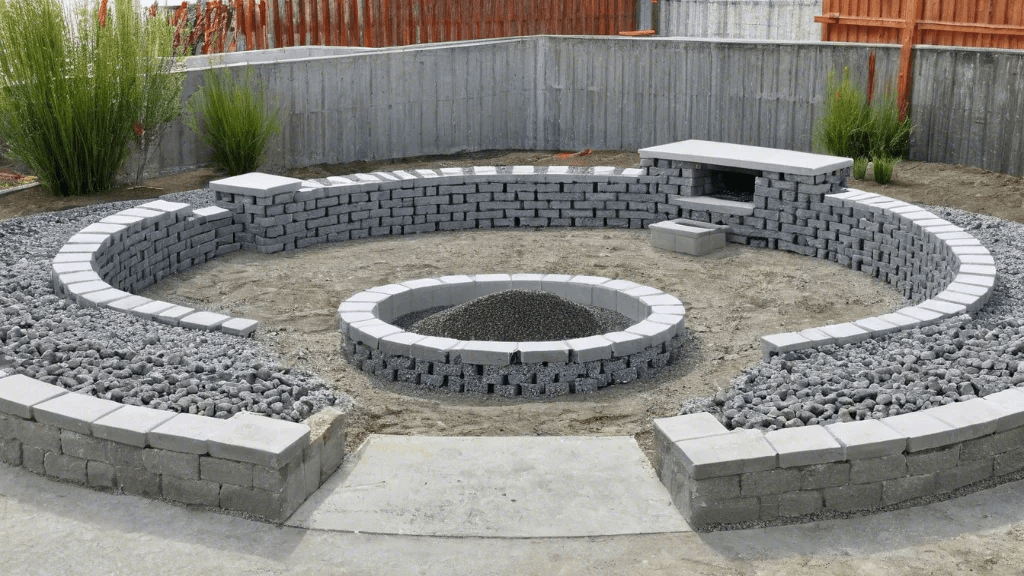
Step 1: Planning and Preparation
- Choose the Location:
- Select a suitable spot on your patio or backyard for the sunken fire pit. Ensure it is away from any flammable structures or materials.
- Measure the Area:
- Measure the dimensions of the existing space or hole where you plan to install the fire pit. This will help in determining the size and amount of materials needed.
- Clear the Space:
- Remove any debris, vegetation, or existing structures from the area. If you have a hot tub or any other large item, hire professionals to remove it if necessary.
Step 2: Creating the Seating Area
- Level the Ground:
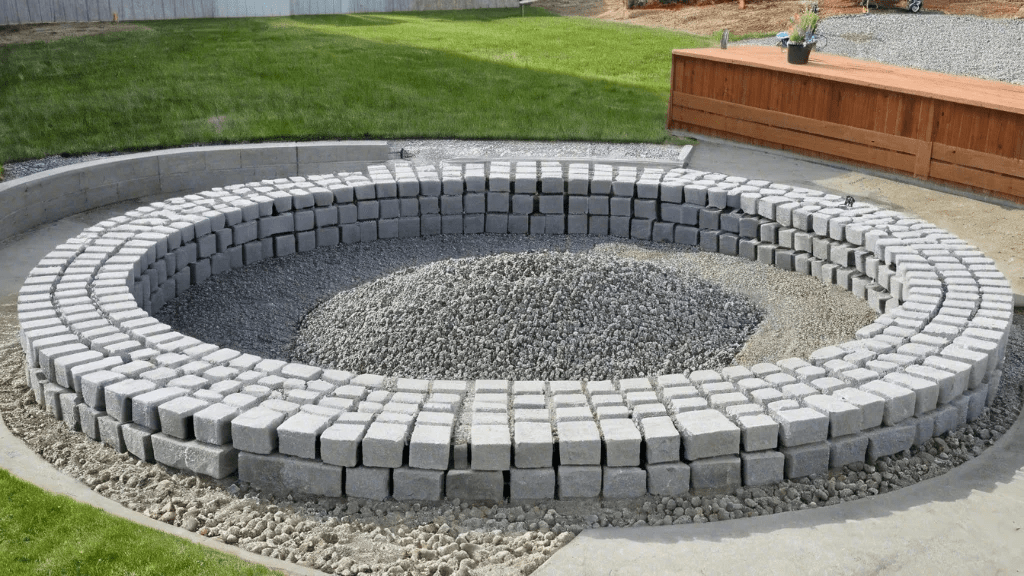
- Spread leveling sand around the perimeter where the cinder blocks will be placed. Use a 2×4 and a 5′ level to check for level in different directions.
- Place the Cinder Blocks:
- Order a truckload of 6 x 8 x 16″ cinder blocks. Begin placing them around the perimeter of the hole. Ensure each block is level. Stack the blocks 2 deep and 2 tall for stability.
- Reinforce with Rebar:
- Insert pieces of 12″ rebar into every other hole of the cinder blocks for added strength. This will help in securing the blocks and preventing movement.
Step 3: Adding Cement and Stucco
- Mix and Pour Cement:
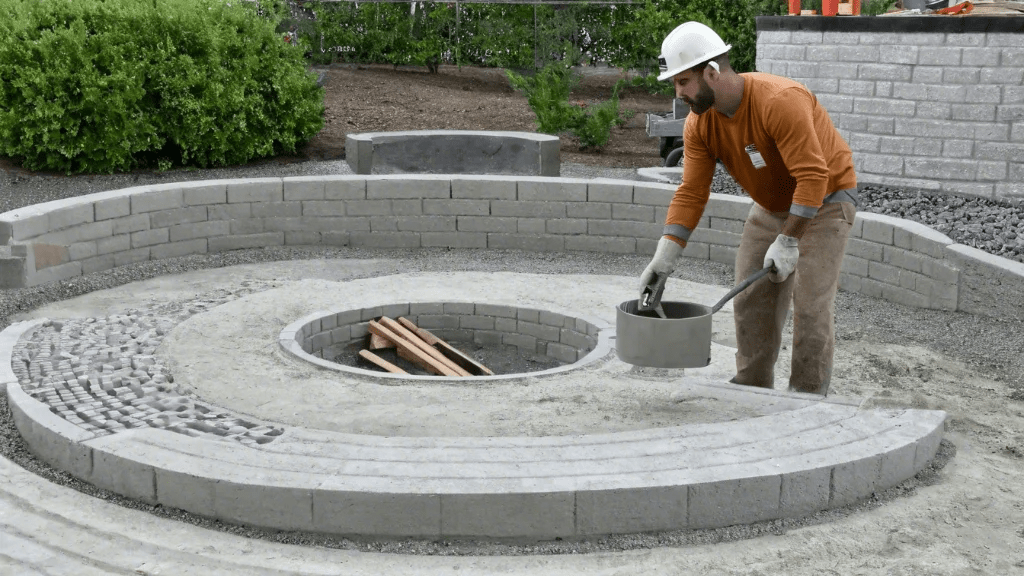
- Use a mini cement mixer to mix 76 bags of cement. Pour the mixture into each cinder block hole, leveling it with a trowel. Allow the cement to cure for several days.
- Apply Stucco:
- Once the cement has cured, mix stucco to a toothpaste consistency. Apply it to the cinder block benches, creating a uniform appearance. Smooth out any rough edges with a hand sander.
Step 4: Installing the Fire Pit
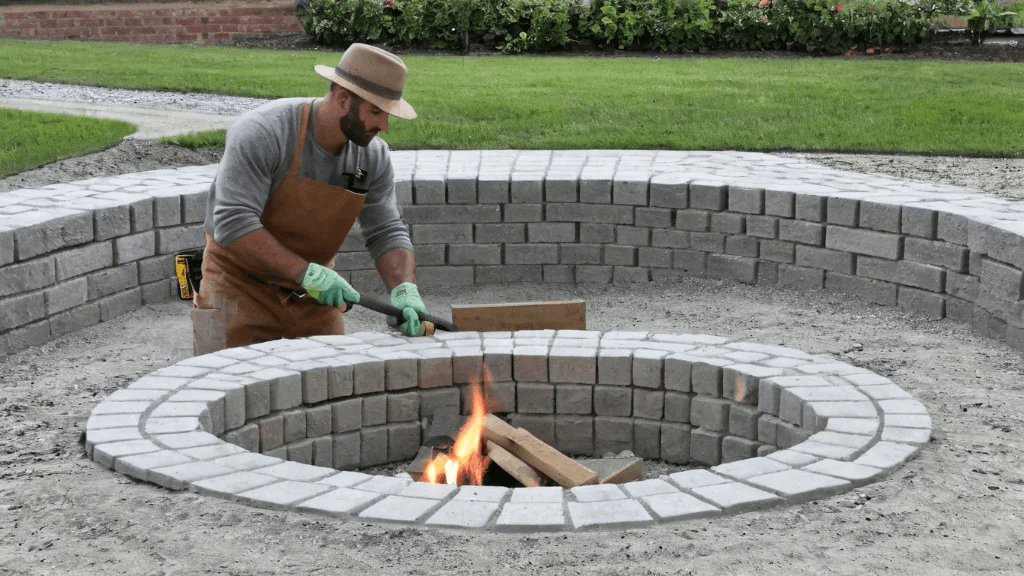
- Prepare the Base:
- Lay down 2″ of chat on the ground of the sunken fire pit. This crushed rock will create a stable base for the fire pit and help with drainage.
- Select and Place the Fire Pit:
- Choose a fire pit or fire table that fits your design preferences. Options include rectangular, circular, or square fire pits. Place it on the prepared chat base.
- Add Fiber Fire Balls (Optional):
- For improved performance and reduced smoke, consider adding fiber fire balls to your fire pit.
Step 5: Final Touches and Comfort
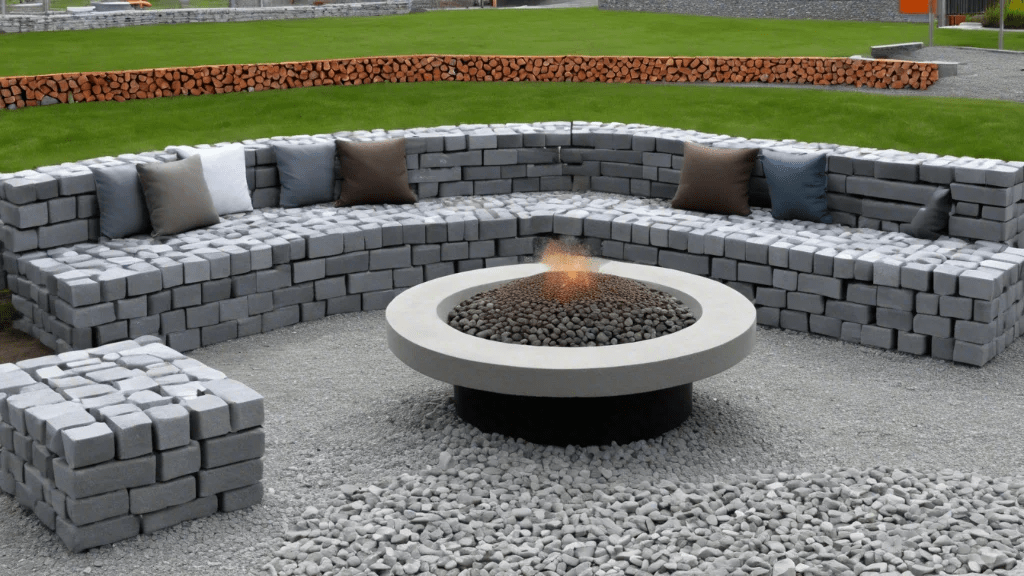
- Add Seating Cushions:
- Find comfortable outdoor bench cushions to place on the cinder block seating. This will enhance comfort and encourage people to linger around the fire pit.
- Decorate with Pillows and Blankets:
- Incorporate outdoor pillows and blankets to make the space cozier. Choose patterns and colors that complement your overall outdoor design.
- Clean Up:
- Ensure the area around your sunken fire pit is clean and free of debris. Check that all materials are securely in place and that the fire pit is functioning properly.
You May Like Also:
DIY Console Table: A Step-by-Step Guide to Building Your Own
Tips for Maintaining Your Sunken Fire Pit
- Regular Cleaning: Remove any ashes or debris from the fire pit after use.
- Check for Damage: Periodically inspect the cinder blocks and stucco for any signs of wear or damage.
- Seasonal Care: Protect the fire pit during off-seasons with a cover to prolong its lifespan.
Conclusion
Creating a sunken fire pit is a rewarding DIY project that adds charm and functionality to your outdoor space. By following this step-by-step guide, you can enjoy a beautiful and practical fire pit that becomes the heart of your patio gatherings. Whether you’re hosting a summer barbecue or enjoying a quiet evening, your new sunken fire pit will provide warmth and ambiance for years to come.
FAQs about Creating a Sunken Fire Pit
1. What is a sunken fire pit?
A sunken fire pit is a fire pit built below ground level, creating a cozy and intimate setting. It often includes seating around the perimeter and serves as a focal point in outdoor spaces.
2. How deep should a sunken fire pit be?
Typically, a sunken fire pit is dug 12 to 24 inches deep, depending on the desired aesthetic and functionality. It’s important to ensure proper ventilation and drainage to avoid water accumulation.
3. What materials are best for building a sunken fire pit?
Common materials include cinder blocks, bricks, and concrete for the structure, with options like gravel, stone, or pavers for the base. Fire-resistant materials are crucial to ensure safety.
4. Do I need a permit to build a sunken fire pit?
Permit requirements vary by location. It’s advisable to check with your local building department to determine if a permit is needed, especially if you plan to use gas lines or make significant alterations to your property.
5. Can I convert an existing hole or hot tub space into a sunken fire pit?
Yes, repurposing an existing hole, such as from a removed hot tub, can be a cost-effective way to build a sunken fire pit. Ensure the space is properly cleaned and prepared before construction.
6. How do I maintain a sunken fire pit?
Regular maintenance includes clearing debris, checking for cracks, and ensuring the drainage system is functioning properly. Cover the pit when not in use to prevent water and debris from accumulating.
7. What are some safety considerations for sunken fire pits?
Ensure there is sufficient ventilation, keep flammable materials away, and consider installing a spark screen. Always supervise fires and have an extinguisher or water source nearby.
References
- The Home Depot – How to Build a Fire Pit
- A comprehensive guide on building various types of fire pits, including materials, tools, and safety tips.
- Link
- This Old House – How to Create a Fire Pit
- Expert advice on creating different styles of fire pits, including sunken designs, with step-by-step instructions.
- Link
- HGTV – Fire Pit Ideas and Design Tips
- Inspiration and tips for designing and building fire pits, including sunken options, with a focus on aesthetics and functionality.
- Link

